Here's what I've came up with:
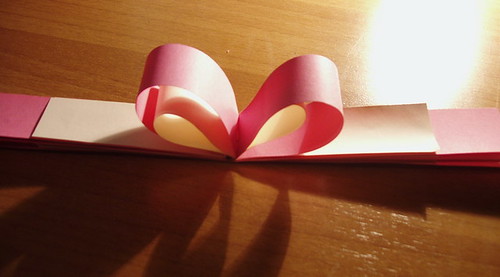
Also, while making it I realized that if you do not finish the project to the end, but stop on one of the steps you can get a nice gift wrapping, as shown above.
And, here's the tutorial:
1. You'll need:
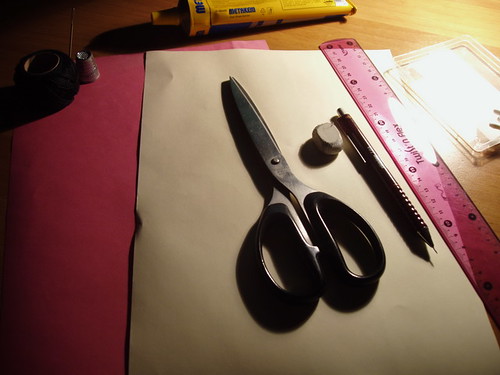 paper - I used two A4 papers of two different colours
- ruler
- pencil
- scissors
- glue
- stapler (this should save your time) or thick needle and thread (but this would work too)
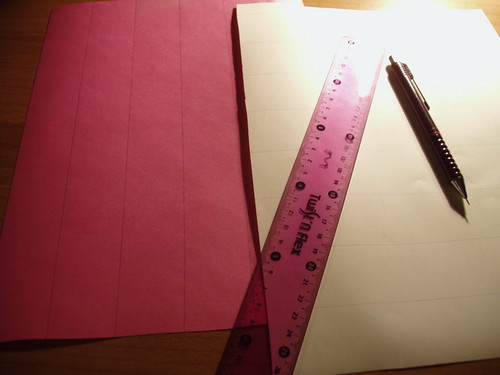
2. Draw your lines. I choose to have longer strips for pink one, and shorter for the vanilla one. My strips are 3,5 cm wide (about 1,4 inches).
3. Cut the strips. I got 6 pink strips, and 8 vanilla ones, but you must have the same number, so I used 6 of each.
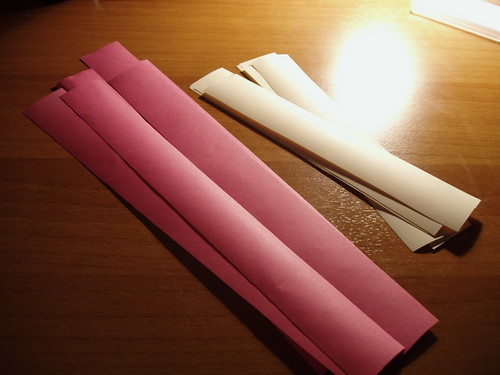 4. Fold them into half:
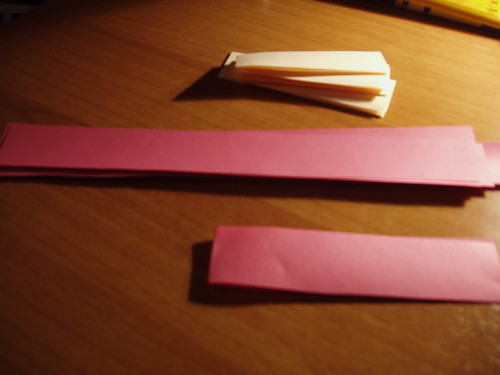 5. Put the strips together in a way that you put one pink, one vanilla, one pink... :
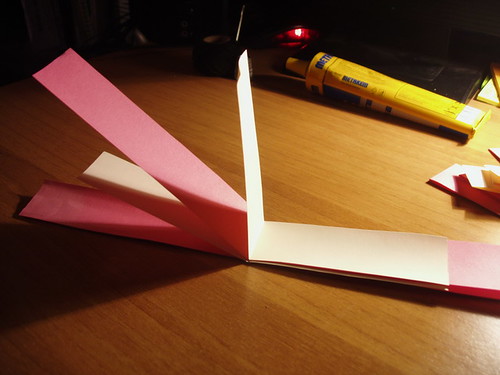 This is how they should look:
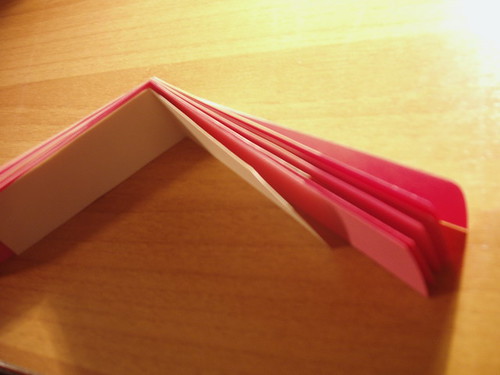 6. Sew the strips together in the middle:
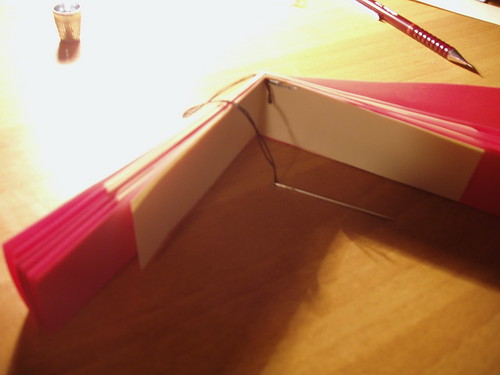
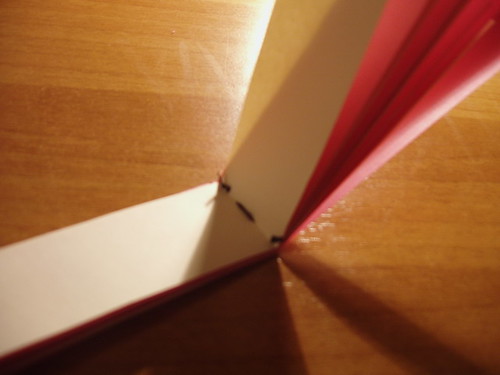 7. Glue the inner strip (if you click on the image you will see bigger one, and than you can clearly see where the glue should go):
 8. Glue the outer strip (same as before):
 9a. When you make just 2, 3 or 4 of them you may want to stop there, as now it makes a nice ribbon for gift wrapping:
 9b. Or go all the way around until you glue them all and get this:
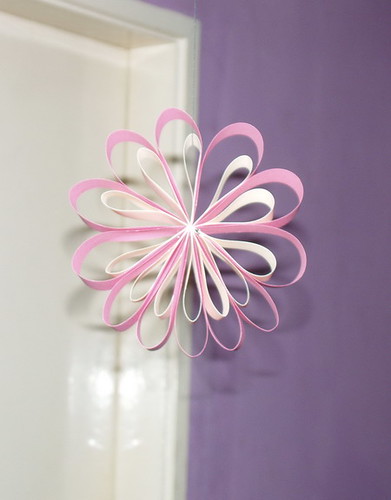
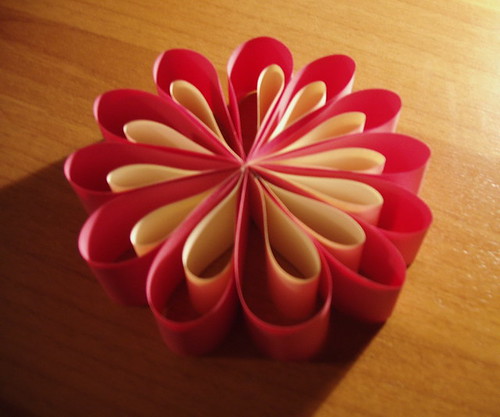 Final ornament is 13 cm (5 inches) in diameter.
I like how it looks different from different angles, and I'd love to play with it more, but right now I have to study :(
As soon as I get back to this, I'll post what else I've made using same technique.
I hope you liked it!

2 comments:
very cool... great job on documenting all the steps :)
i linked it here, by the way:
http://www.dabbled.org/2008/12/random.html
Thank you, Dot :)
btw - love your blog ;)
Post a Comment