I bet there are million of recipes for pizza, at least 234 567 of them being vegetarian. One would say no point of adding yet another one to the list. But, let me explain you why my pizza deserves to have the recipe published:
- it smells so good, it tastes even better and it melts in your mouth
- also, in this recipe I'll share some easy and cheap tricks how to make your homemade pizza taste just like ones from the pizzerias
Here's a list of stuff that you must have if you want a tasty, juicy vegetarian pizza:
- a fresh dough
- plum tomatoes - from a can if not a season
- cheese - not any type of cheese is good, try something like Gouda cheese
- fresh mushrooms (champignon) - the ones from a can are a total disaster, and I would say if you cannot have fresh ones don't use these ones either
- sweet corns - ones from a can or jar would do
- oregano, as well as other spices like salt, pepper, garlic, thyme, basil...

List of things that would be great to have on vegetarian pizza, but are not that necessary:
- fresh paprika - sliced
- onion - sliced
- zucchini - sliced
- arugula
- mozzarella
Ok, so here comes the procedure..
1) Make dough. Use 400g of flour, 7g of dry yeast, 1 tsp of salt, 2 Tsp of olive oil and 2 deciliters of warm water. Just sift flour to a bowl, add salt, yeast and a little bit of oil. Pour warm water into glass, and add it little by little to the flour and mix. Your dough is ready when all the flour is used up, and the dough is rather soft than gummy. Cover with cloth and place on a warm spot.
2) While the dough is rising up you can start chopping the vegetables. Start with the tomatoes, as they need to be cooked. Chop the garlic, too. Put the oil in a pot, and place on the low heat. Add garlic, and a bit later add salt and pepper. Add tomatoes, and have water prepared near by to add. Add oregano and other spices you'd like. Leave cooking, stir from time to time, and add some water.
3) Heat up the oven to say 200 °C (400 °F), but take the oven crossbar out first.
4) While the tomatoes are cooking you can slice the rest of stuff (olives don't need do be chopped), into thin slices.
5) Spread the dough. Cover the oven crossbar with the aluminum foil, and spread oil over it. Place the dough on the oven crossbar.
6) Add half of the tomatoes and spread them over the dough. Add all the shredded cheese all over the dough, and cover with the rest of the tomato sauce. Add rest of the chopped vegetables you have.
7) Cover the pizza completely with another piece of aluminum foil, it's not a problem if it touches pizza, but it shouldn't be completely attached to pizza. Place in a preheated oven. Your pizza will be ready in 15 - 20 minutes, depending on the size, heat and oven.

I tried many homemade pizzas, and everybody who makes them has a little trick, and I find it great. My trick is consisted of simply using fresh ingredients, cooked tomato sauce and keeping pizza juicy. Isn't it awful when the cheese, mushrooms and corn just dry out, and become chewy and hard? That's why you need to mix the cheese into the sauce; that way it'll melt, but won't dry out. Also, by putting the aluminum foil under the pizza you allow it to bake faster, and the dough to become more crunchy and pizza like than bread like. By putting the upper aluminum foil you make sure that the vegetables don't dry out, but remain fresh and juicy.

Buon appetito!

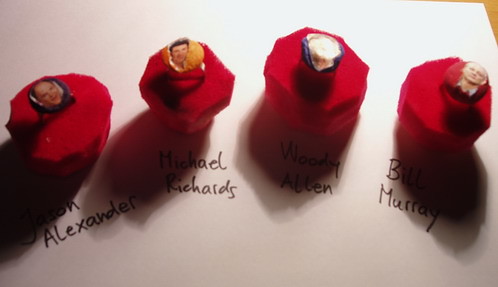 Ring boxes:

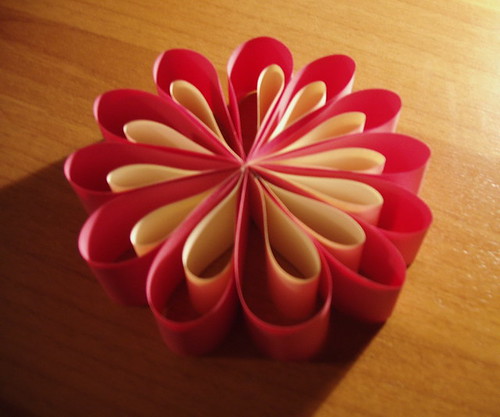
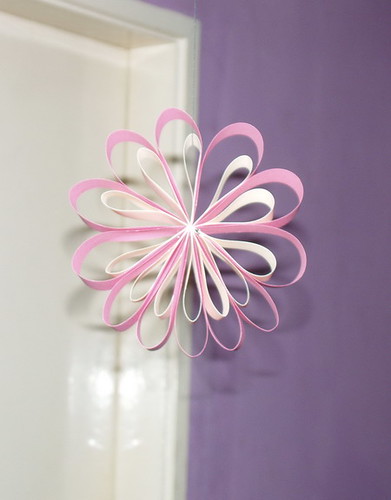


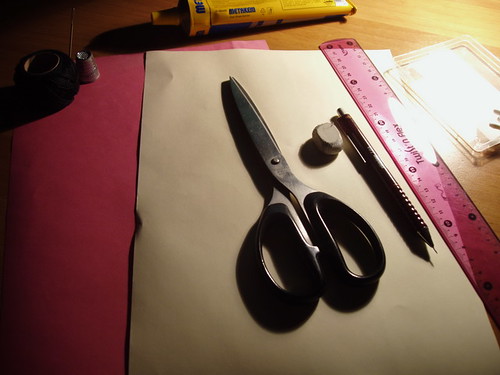 paper - I used two A4 papers of two different colours
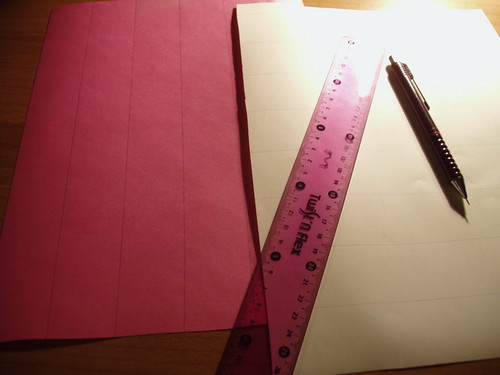
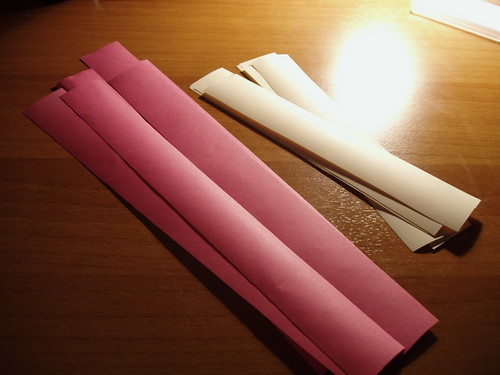 4. Fold them into half:
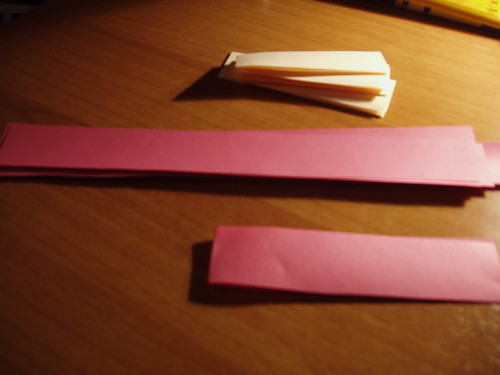 5. Put the strips together in a way that you put one pink, one vanilla, one pink... :
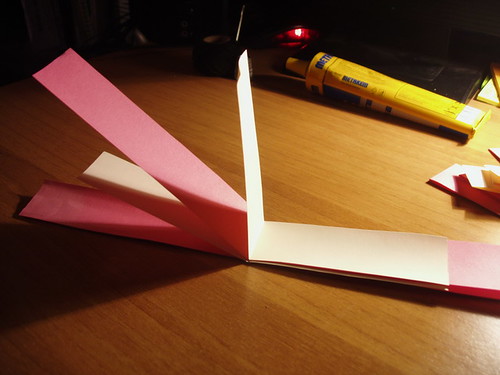 This is how they should look:
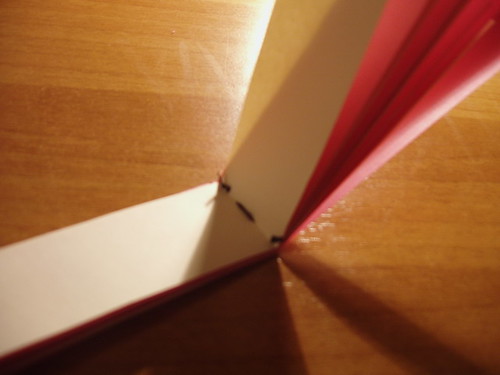
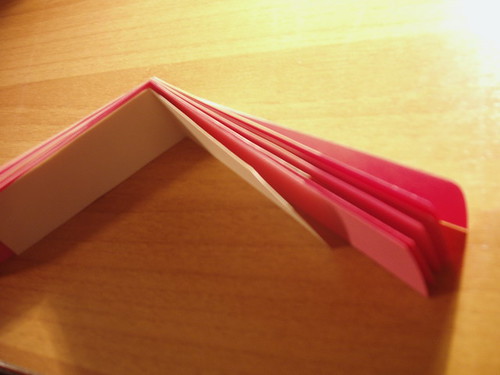 6. Sew the strips together in the middle:
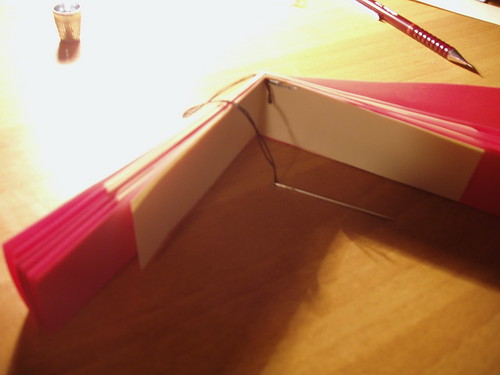
 7. Glue the inner strip (if you click on the image you will see bigger one, and than you can clearly see where the glue should go):
 8. Glue the outer strip (same as before):
 9a. When you make just 2, 3 or 4 of them you may want to stop there, as now it makes a nice ribbon for gift wrapping:


 You can do what ever you like to decorate your can top covers. What's cool about them is that they already have the little hook on the top, and that they're made of metal and already have nice white, golden or silver color.
 I decided to read this first time I saw the quotation from the foreword. When I started reading it, there was no more chance stopping. The story of Michael, an Irish terrier, pulls you, and you can not leave Michael alone any more. Most of the story is written from Michael's perspective, and it's obvious that London understands the dog so deeply and truly. Anyone who ever lived with a dog will be surprised reading and in the same time recognizing things London is writing about.
 I tried many homemade pizzas, and everybody who makes them has a little trick, and I find it great. My trick is consisted of simply using fresh ingredients, cooked tomato sauce and keeping pizza juicy. Isn't it awful when the cheese, mushrooms and corn just dry out, and become chewy and hard? That's why you need to mix the cheese into the sauce; that way it'll melt, but won't dry out. Also, by putting the aluminum foil under the pizza you allow it to bake faster, and the dough to become more crunchy and pizza like than bread like. By putting the upper aluminum foil you make sure that the vegetables don't dry out, but remain fresh and juicy.
 Buon appetito!


 Chop the tomatoes, onions, dried plums and garlic. Slice the carrots, better thinner than wider.
